Tableau – Creating a Story
How to Create a Story in Tableau
In Tableau, a Story consists of a sequence of visualizations (Worksheets or Dashboards) that work together to convey a message. Tableau stories can be created to explain, for example, why a particular product is not performing well, why we are experiencing negative profits in the region with the highest sales, or why sales are not improving after implementing a previous management decision.
We will demonstrate how to create a Story in Tableau with an example in this tutorial In this example, we will use the Workbook shown below.

Create a Tableau Story Example
To create a story, please click on the New tab.

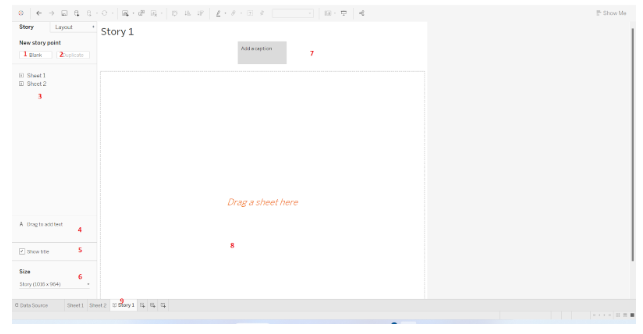
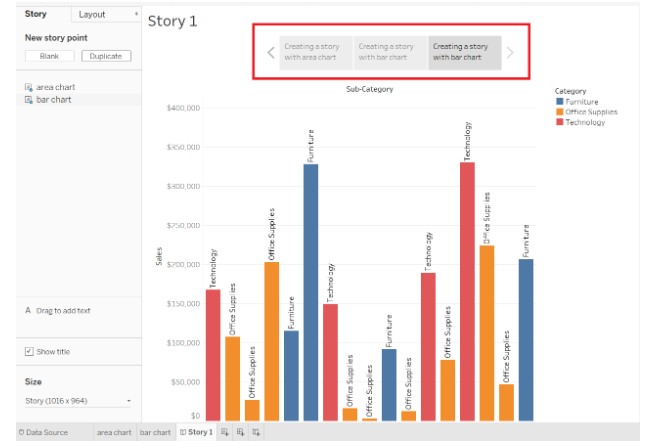
The Tableau Storyboard is now visible.
- Blank: Click this button to create a new Story Point.
- Duplicate: This button duplicates the existing point
- Sheets: Worksheets that are available for creation.
- Drag to Add Text: By doing this, you will be able to add custom text to the top.
- Show Title: Select this option to display the Title; otherwise, uncheck it.
- Size: The size of the display can be adjusted using this property.
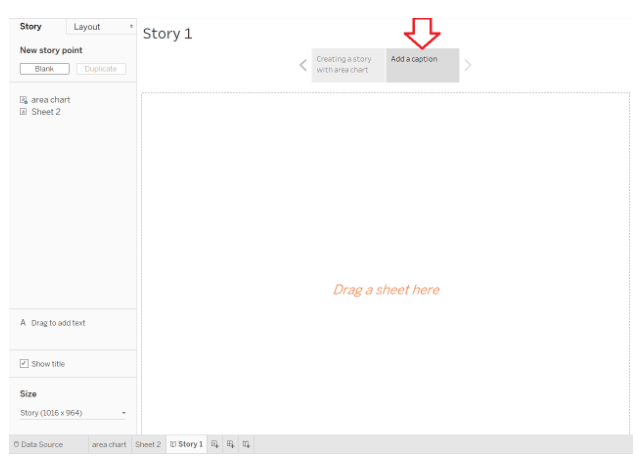
- Add a Caption: Explain the Story Point using this Tableau Area
- This is the actual work area.
- The name of the storyboard. Rename the sheet by right-clicking and selecting the Rename Sheet option from the context menu.
When you hover over any sheet, you will be able to see a preview of the sheet. The original sheet will be displayed.
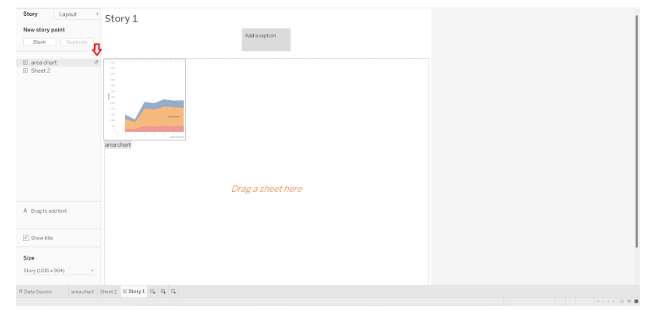
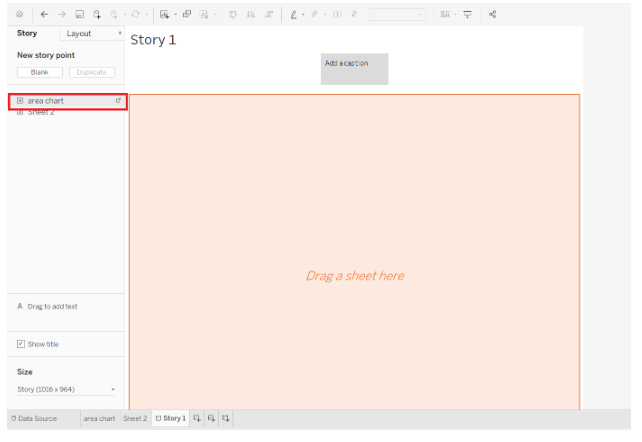
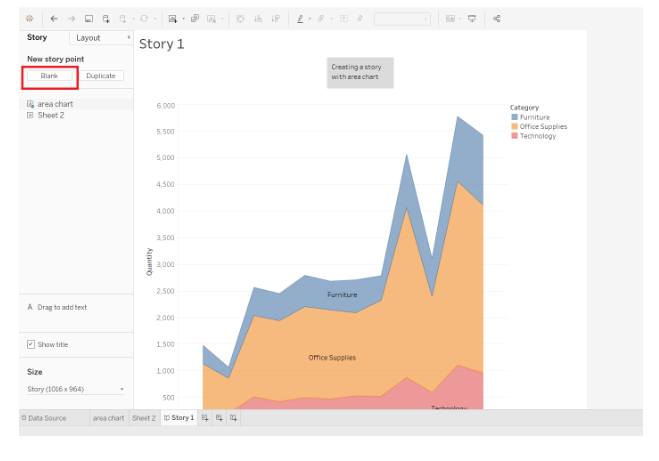
Let me Drag and Drop the area map sheet to the Story Point.
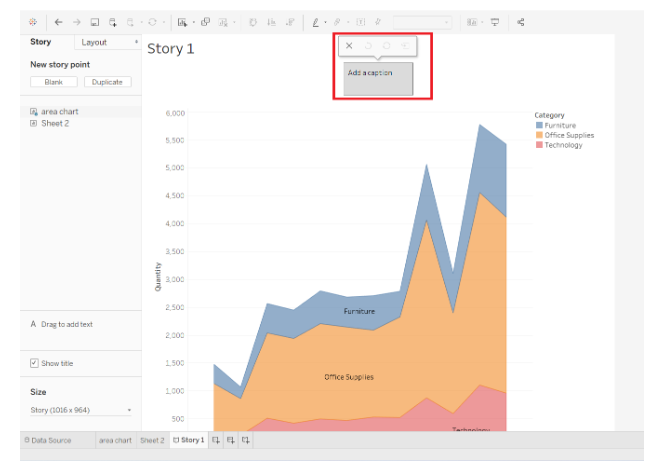
Now you can see the chart. Let me use the Add caption to write a Caption.
Create a New Story Point
To add a new story point in Tableau, click on the Blank button.
As you can see, a new Tableau story point has been added.
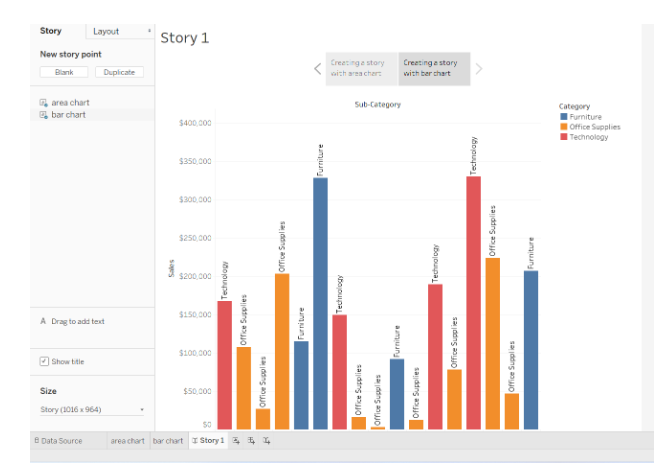
As you can see from the screenshot below, we have added a Line Chart to this story point. Additionally, we have added some sample text as a caption.
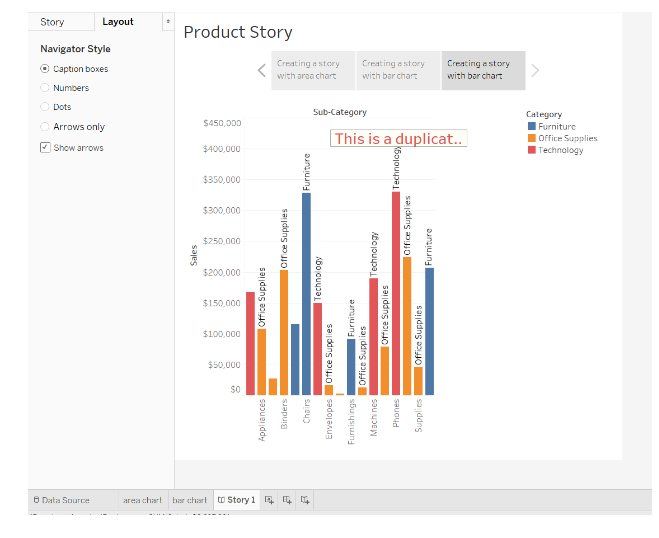
Duplicate Story Point of a Tableau
It is possible to duplicate an existing story point on the desktop. Click on the Duplicate button to duplicate the current document
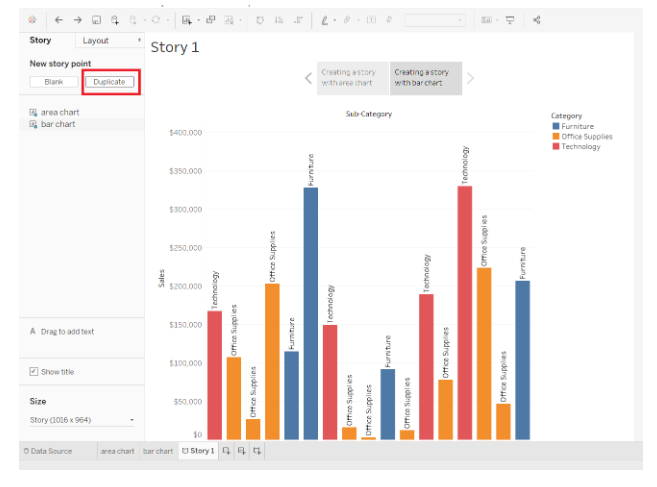
After clicking the duplicate button, we can have the duplicated caption.
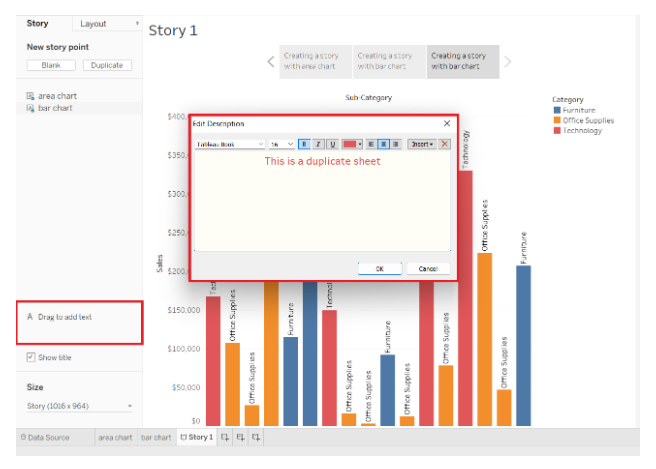
Add Text to a Tableau Story
To add custom text or a description to the Story Point, drag and drop the Drag to Add Text Object to the work area. When you drop the Drag to Add Text Object onto the work area, a new pop-up window will appear called Edit Description. Write your description in this window.
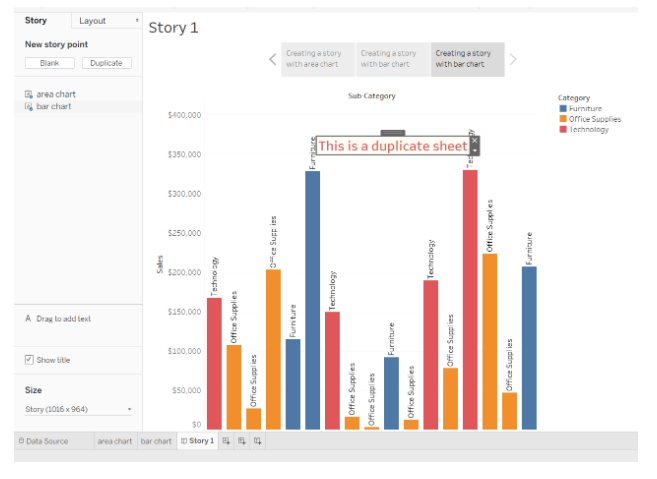
Now you can see, Text has been added
Display Size of a Story
Tableau selects the Fixed-size with Story, Size option by default. Under Size, you can adjust the size to suit your needs. You may find it useful to design your story in accordance with the size. The automatic option will adjust the point according to the size of the screen.

There are multiple options available under the Fixed option. For now, I will select Web Page Embedded.
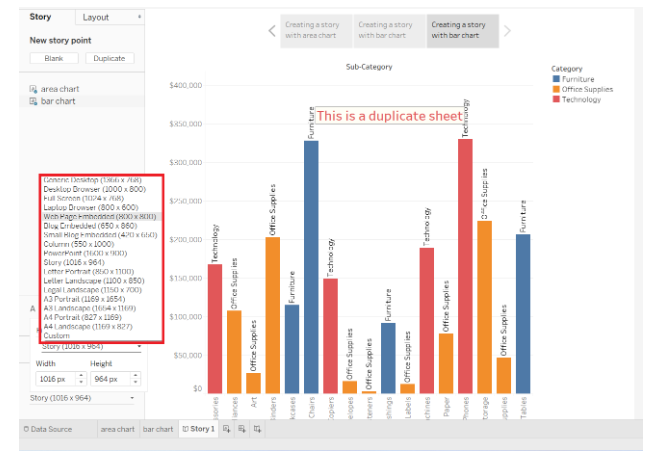
Tableau Story Layout Format
Layout tab is used to format the captions of a story.
- Caption Box: This is the default option that you will see. You can display the caption by using this option.
- Numbers: This option displays the numbers (1, 2, 3,…) instead of a caption.
- Dots: Display dots using this option
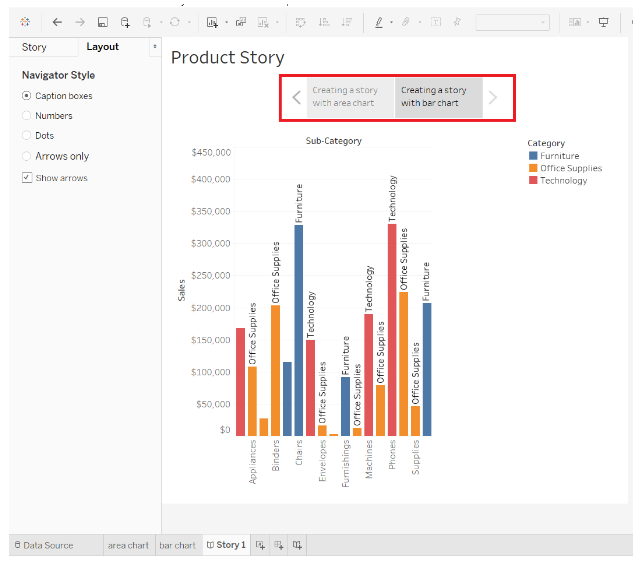
- Show arrows: To display the arrows around the captions, check this option; otherwise, uncheck it.
For demonstration purposes, I will select the Numbers option.

Remove a Story Point from the Desktop
A Tableau story can be deleted by simply clicking the Delete button.
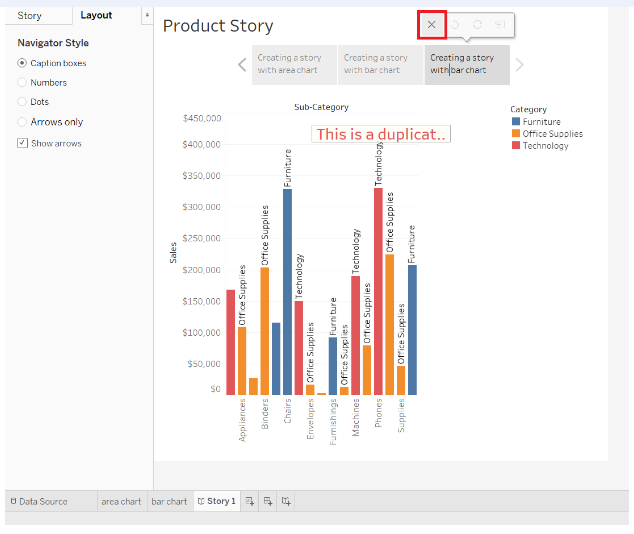
As you can see, we have successfully deleted a story point.
This was all about creating story in tableau.